From Dust to Art
I remember when I started in photography and shared those first photos of a trip to Europe; in that package of photos there were several things, that today I would be ashamed to show to the public through my visual memories.
When I think about that trip, I can only think about how beautiful Europe is, also about the thousand pages I consulted before taking the first photos with a white camera that I will never forget, photos that were taken in the only mode I knew at that time "Automatic"; but from all those searches a clear memory comes to my mind, about that incessant search I made after my trip and being able to observe those photos on a computer, and that search was, why and how to remove the black points of dust that my photos have?
When I made that search, a lot of information appeared in front of my eyes, but all those solutions and explanations only led me to the use of a tool, which would only gave me a temporary solution, the use of a software to remove those black spots from my photos.
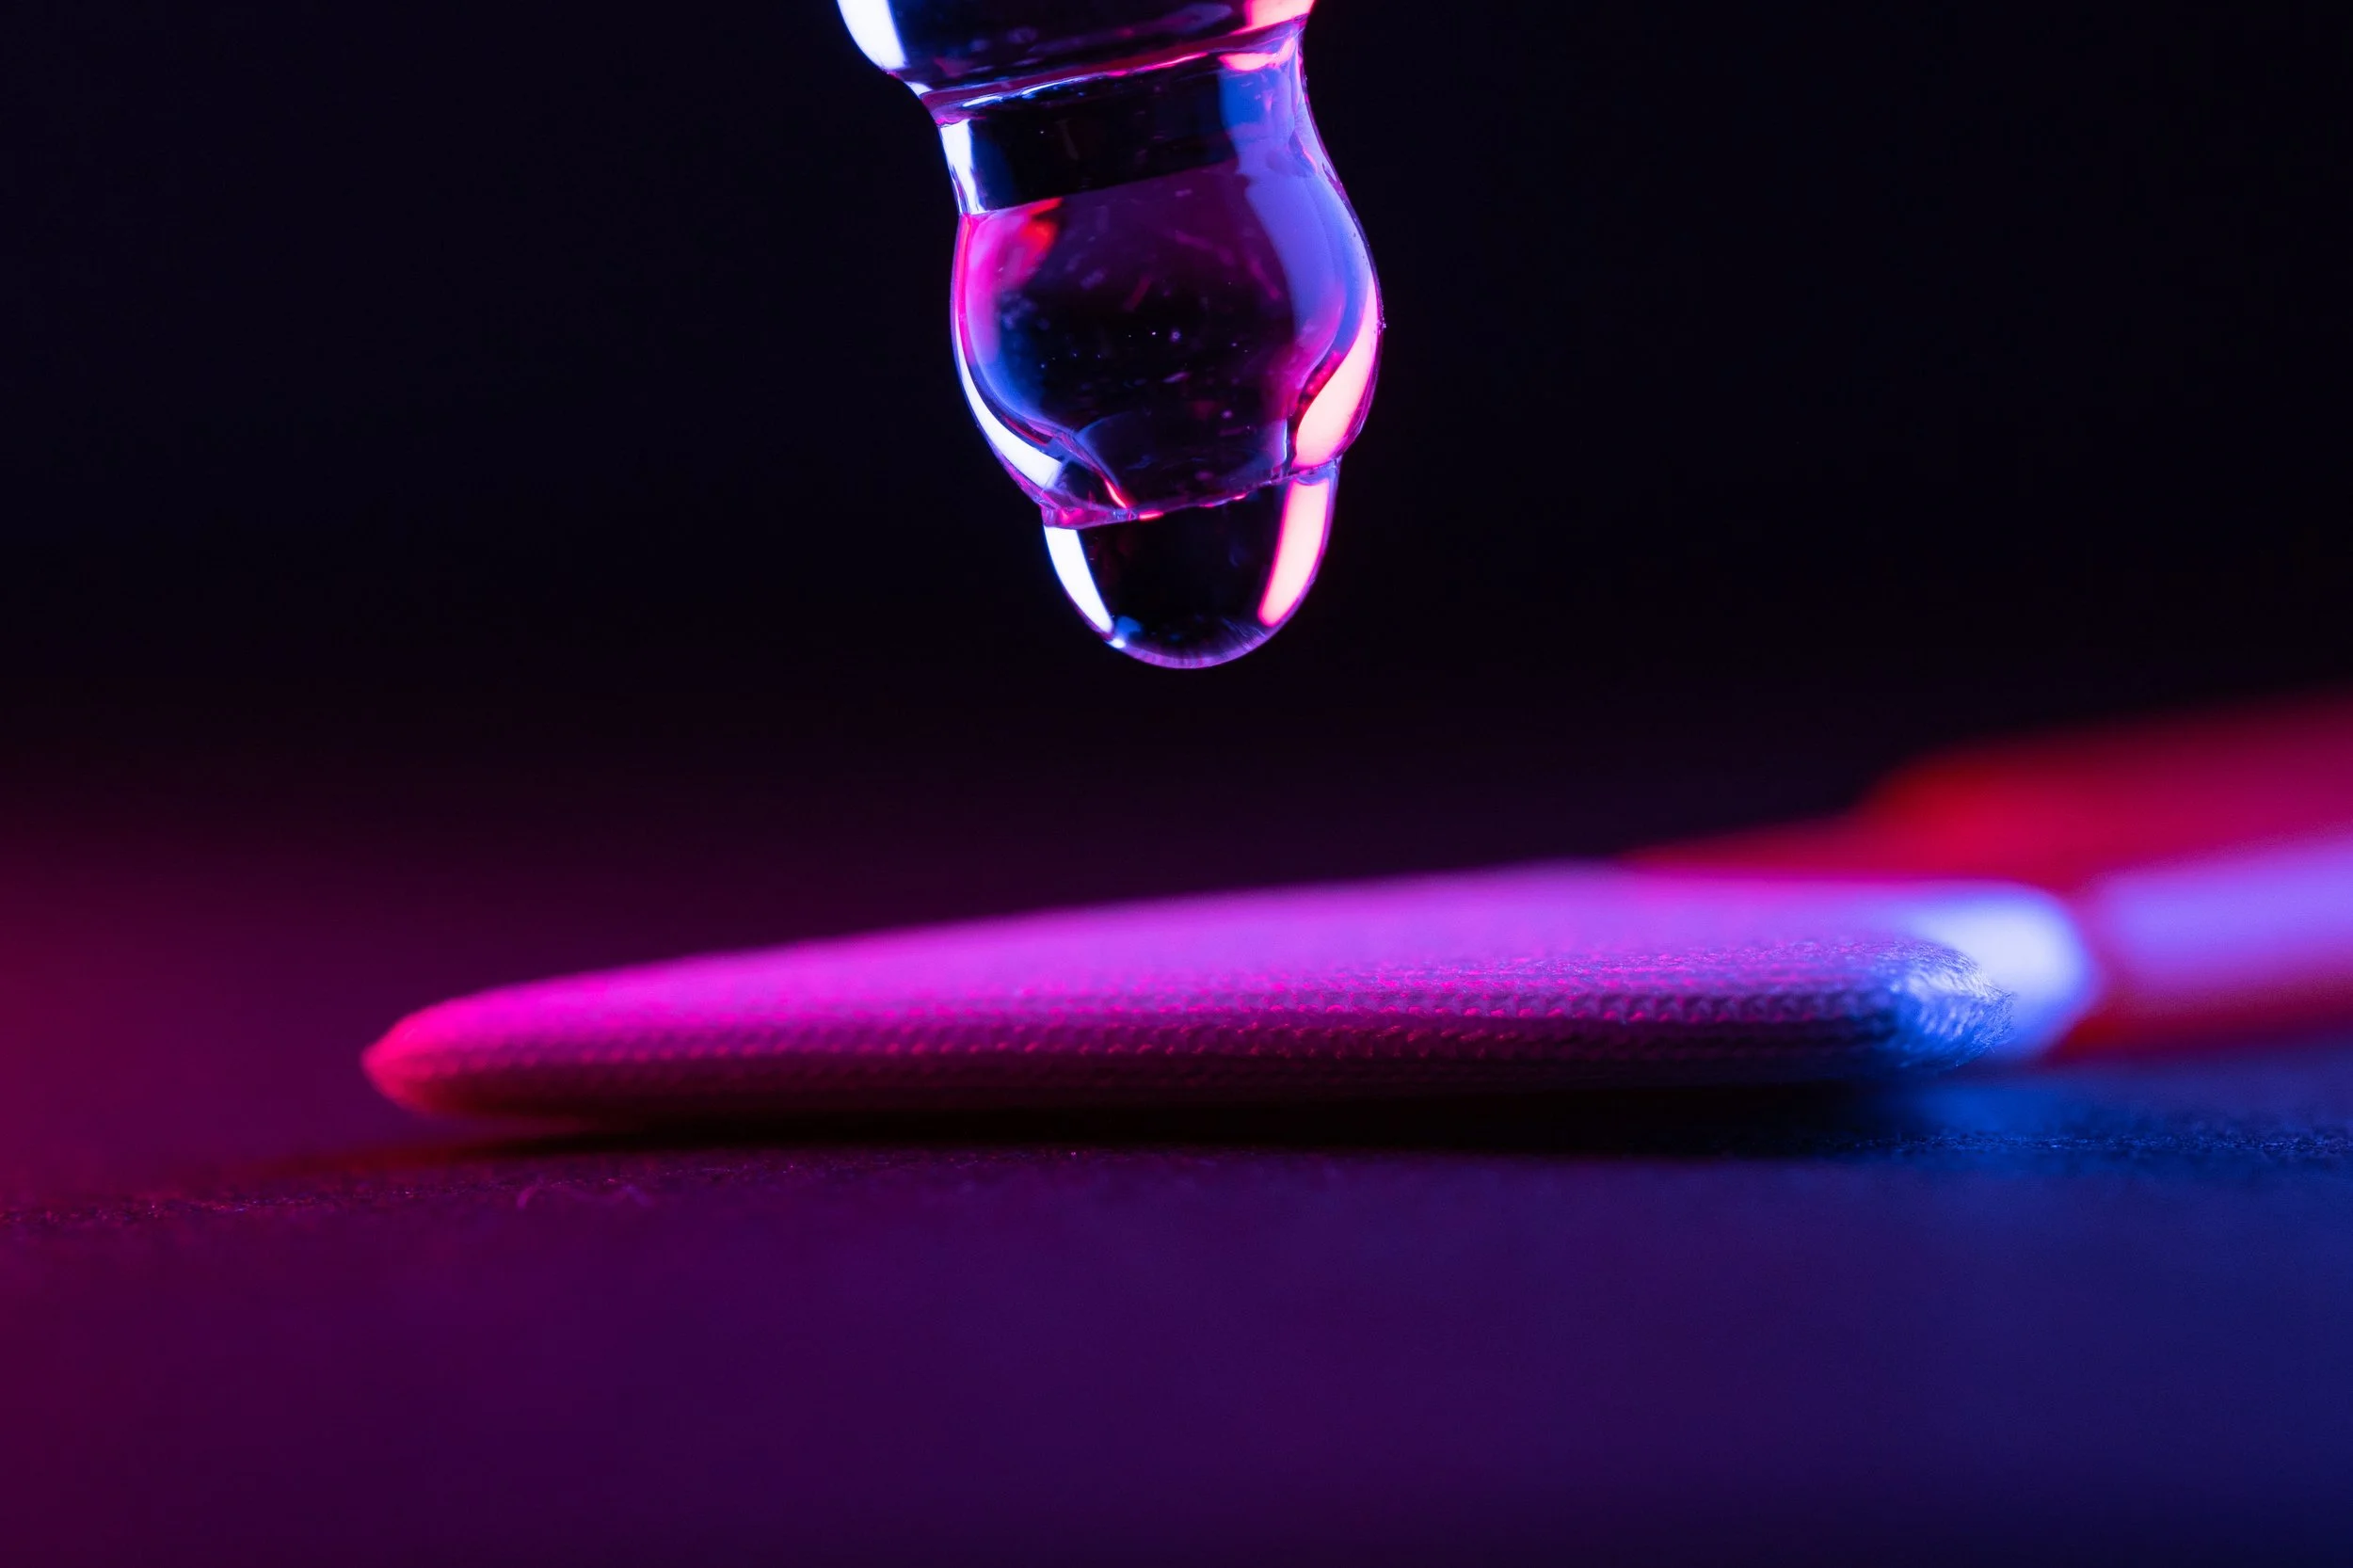
After years of experience in photography, I have realized how important it is to have tools like the one I show in the left photo.
I have seen in many forums or photography groups the same question I had at that time about those spots that appear in your photos.
Many of those spots are caused by dust that gets on the sensor of our cameras when we exchange lenses, in many occasions it is enough to just blow that little trace of dust that remains on the sensor, but in many other occasions that leaves us with a half solution.
In the past, to be able to eliminate this problem, would bring us an impact to our pocket, because of the amount of money that we had to pay to a specialist, but luckily and thanks to the advance in technology, it is a procedure that we can perform ourselves today.
For years I have been responsible for cleaning my camera sensor. To perform this procedure I have used a considerable and variable amount of accessories, many of them gave a half good result, and many others did not end up so well.
But a week ago I received confirmation that I was going to be able to try a product that I had already seen for some time: the NITECORE sensor cleaning kit.
First let me tell you what is included in the box.
This kit contains:
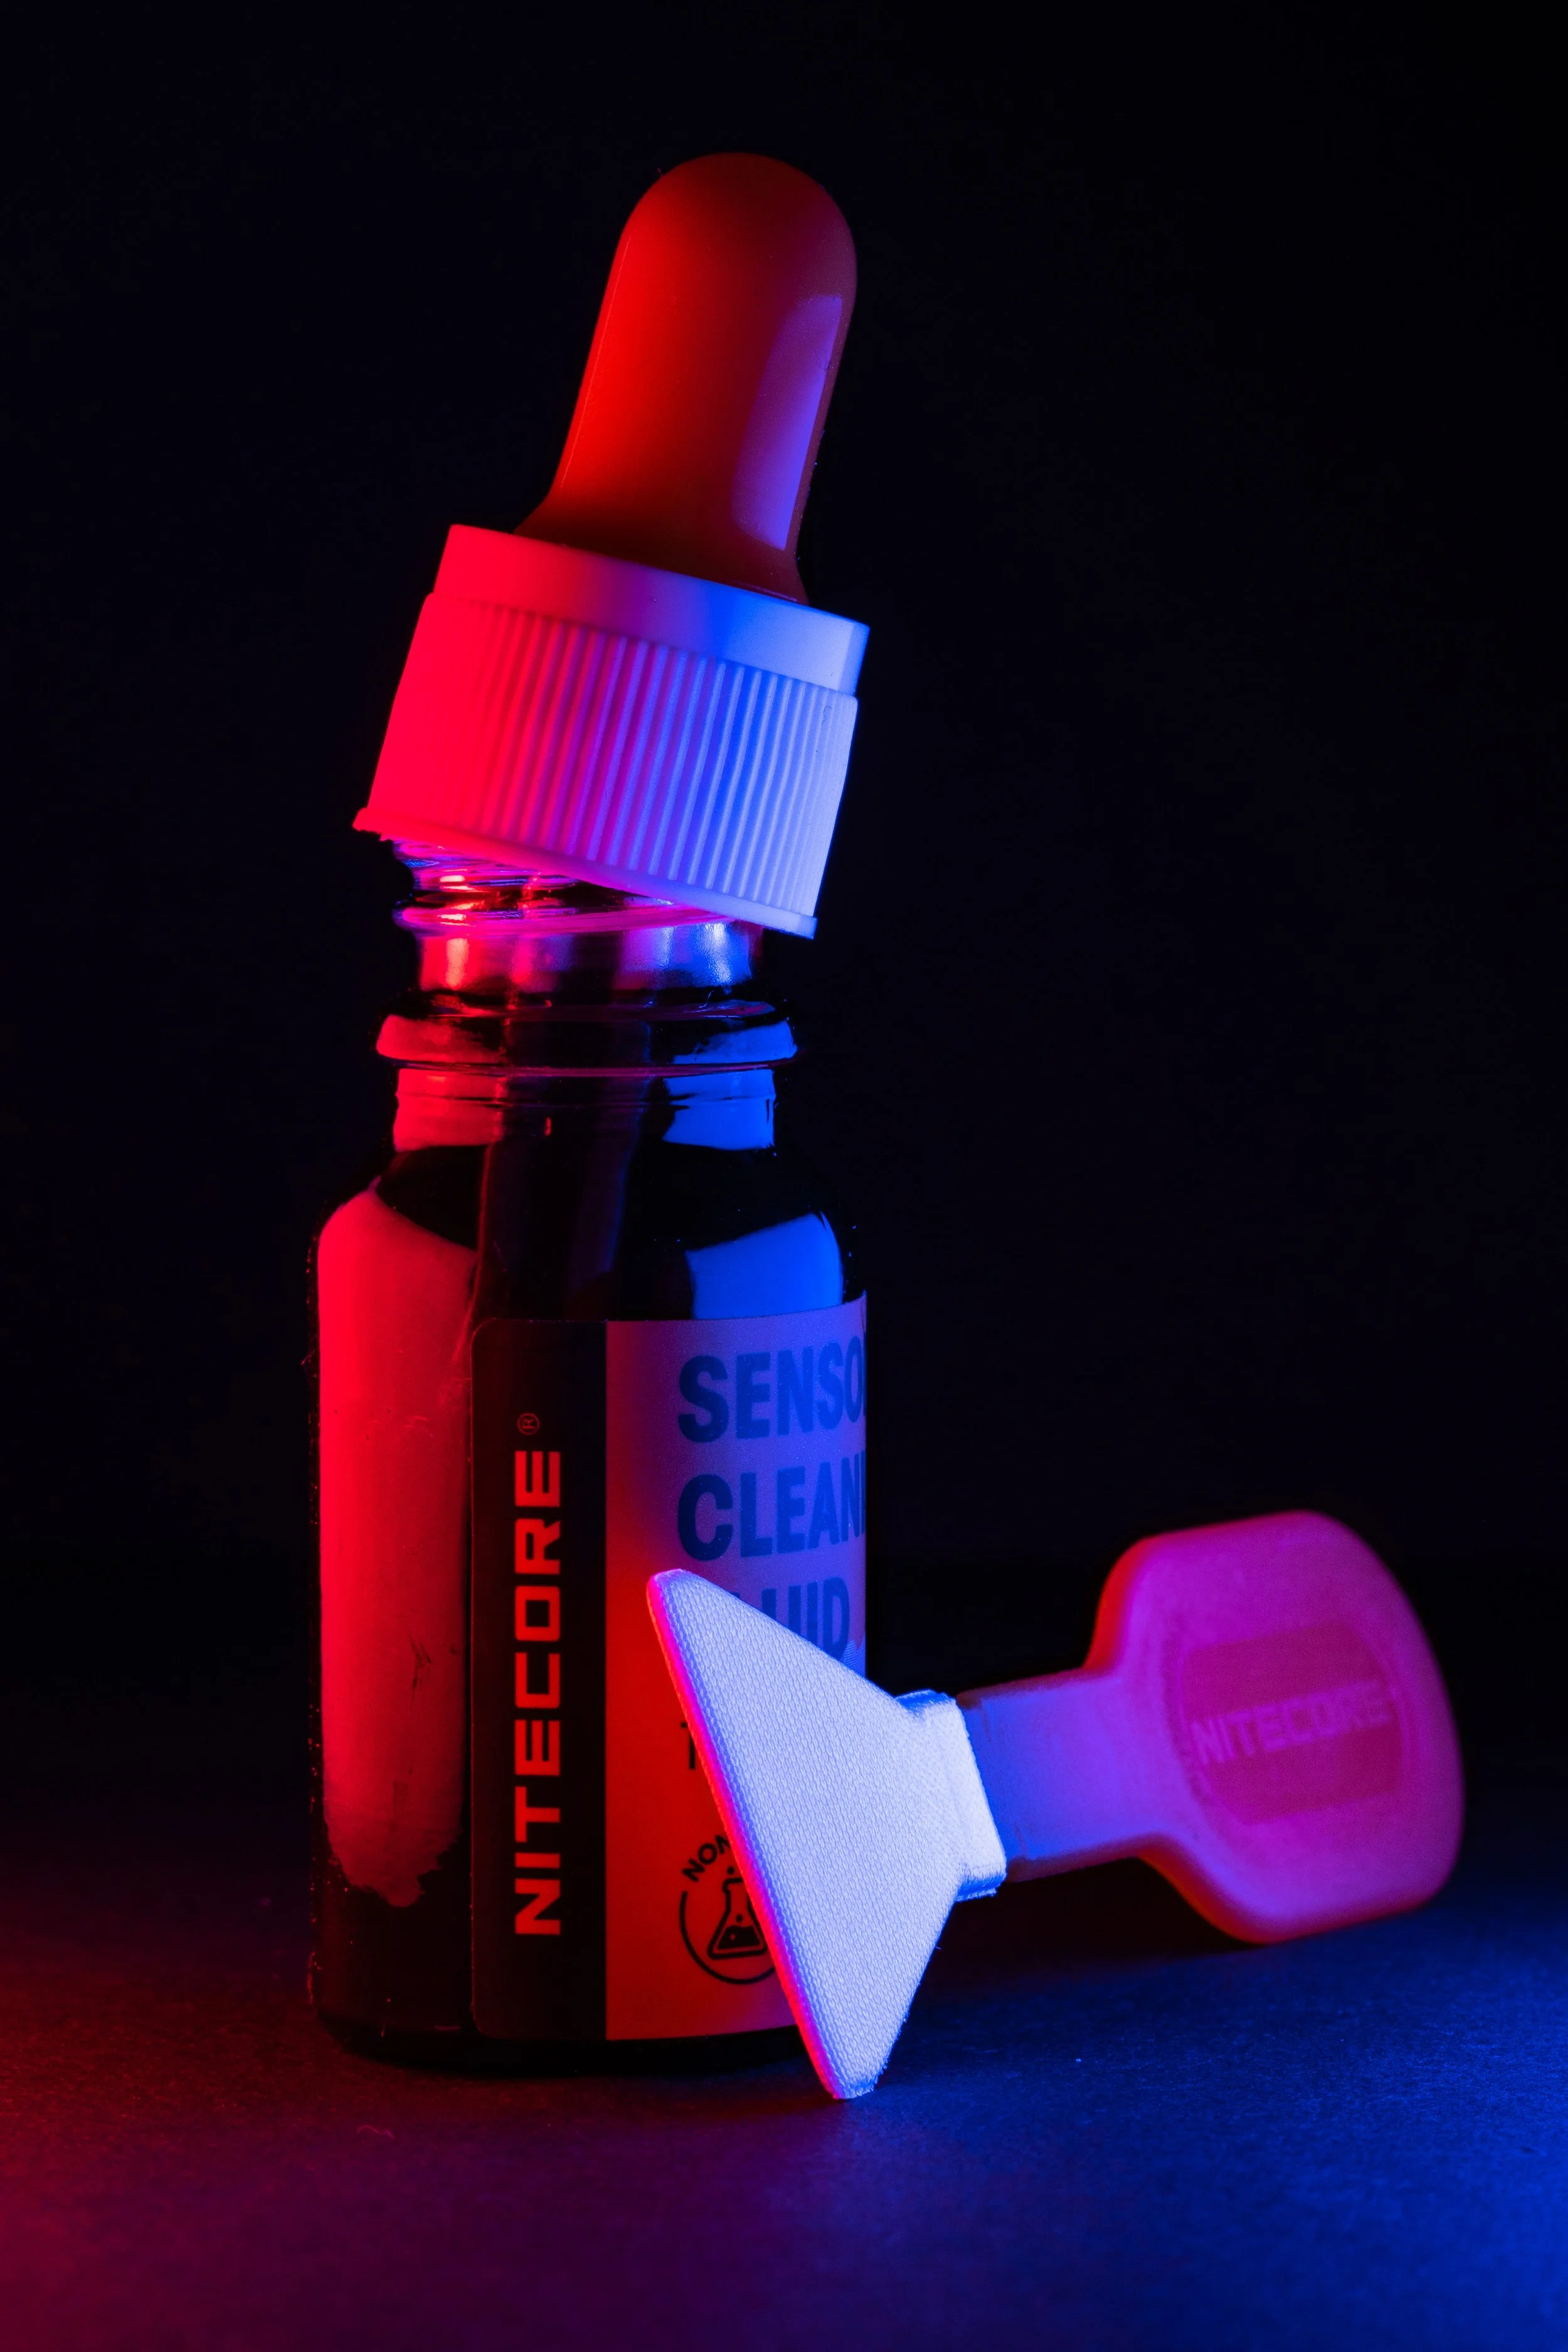
10x Cleaning Swaps
10ml Cleaning Fluid
Now let's get down to business.
In order to use this product, just follow the steps below:
1. Adjust the camera to clean mode.
2. Use a professional air blower to blow the dust away.
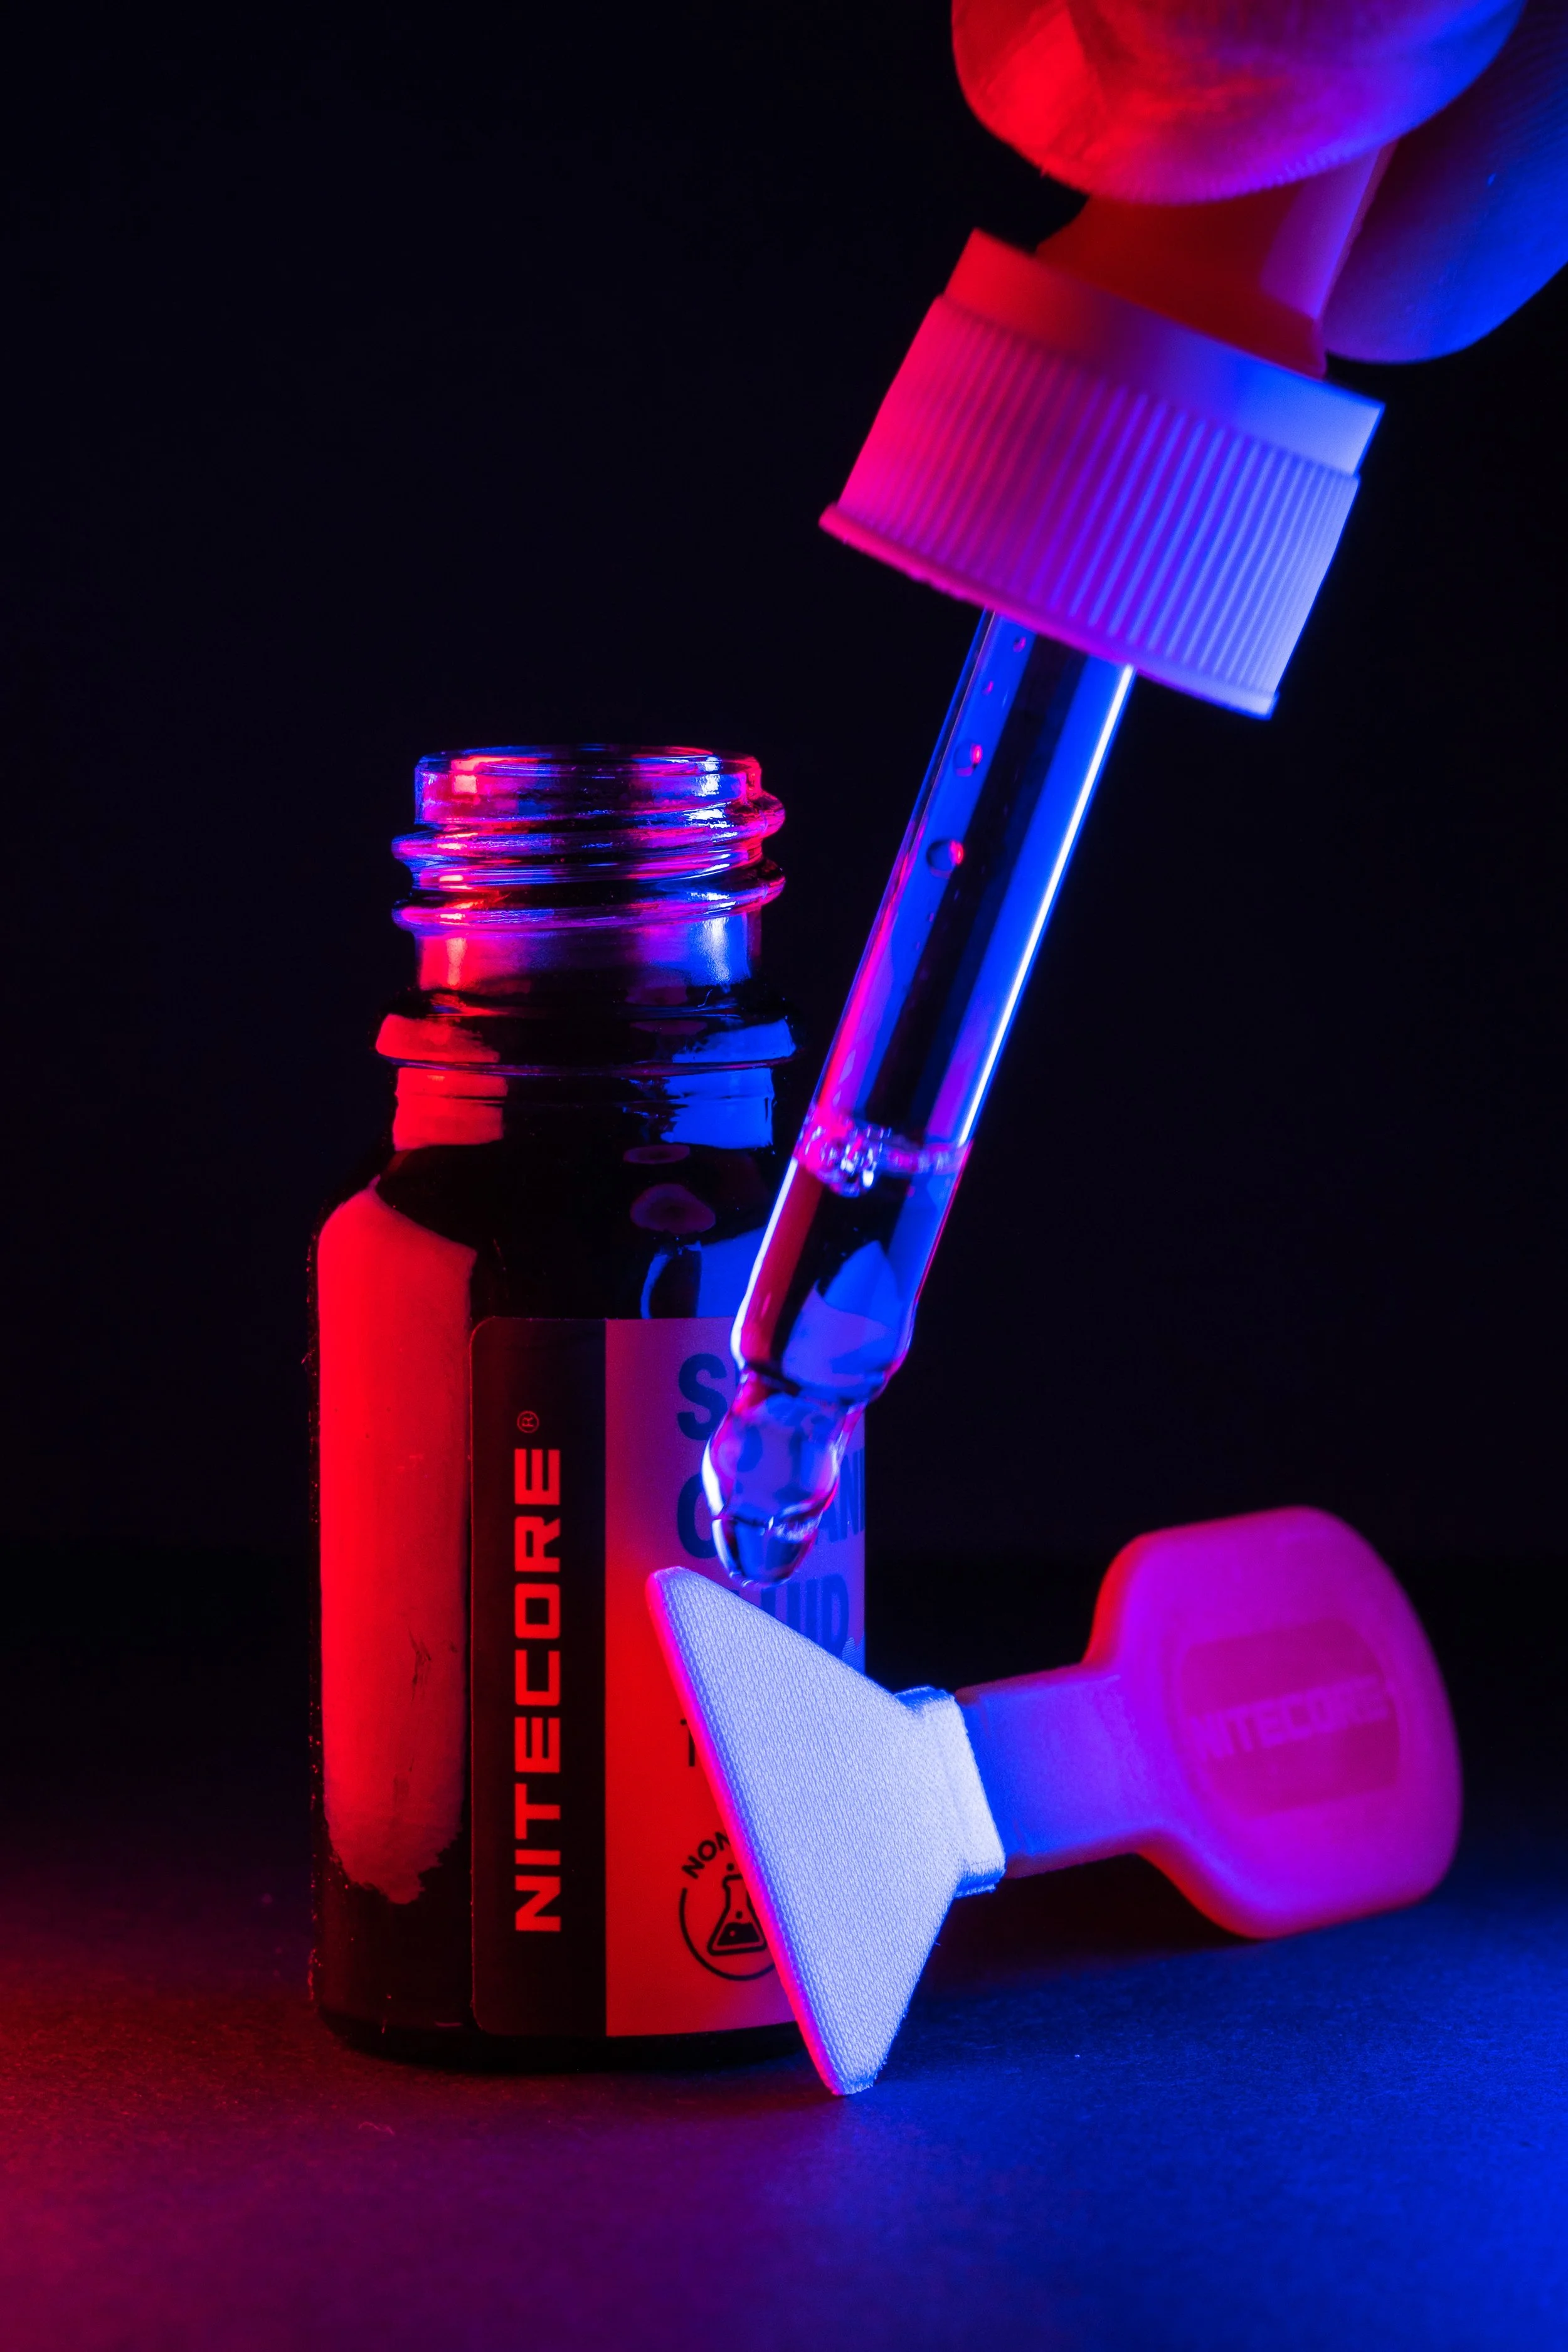
3. Drip 1~2 drops of the sensor cleaning fluid on a newly opened cleaning swab.
4. Gently drag one side to the other and repeat in the opposite direction.
5. Enjoy making art, dust free.
Source: https://photo.nitecore.com/product/sensorcleaningkit_fullframe
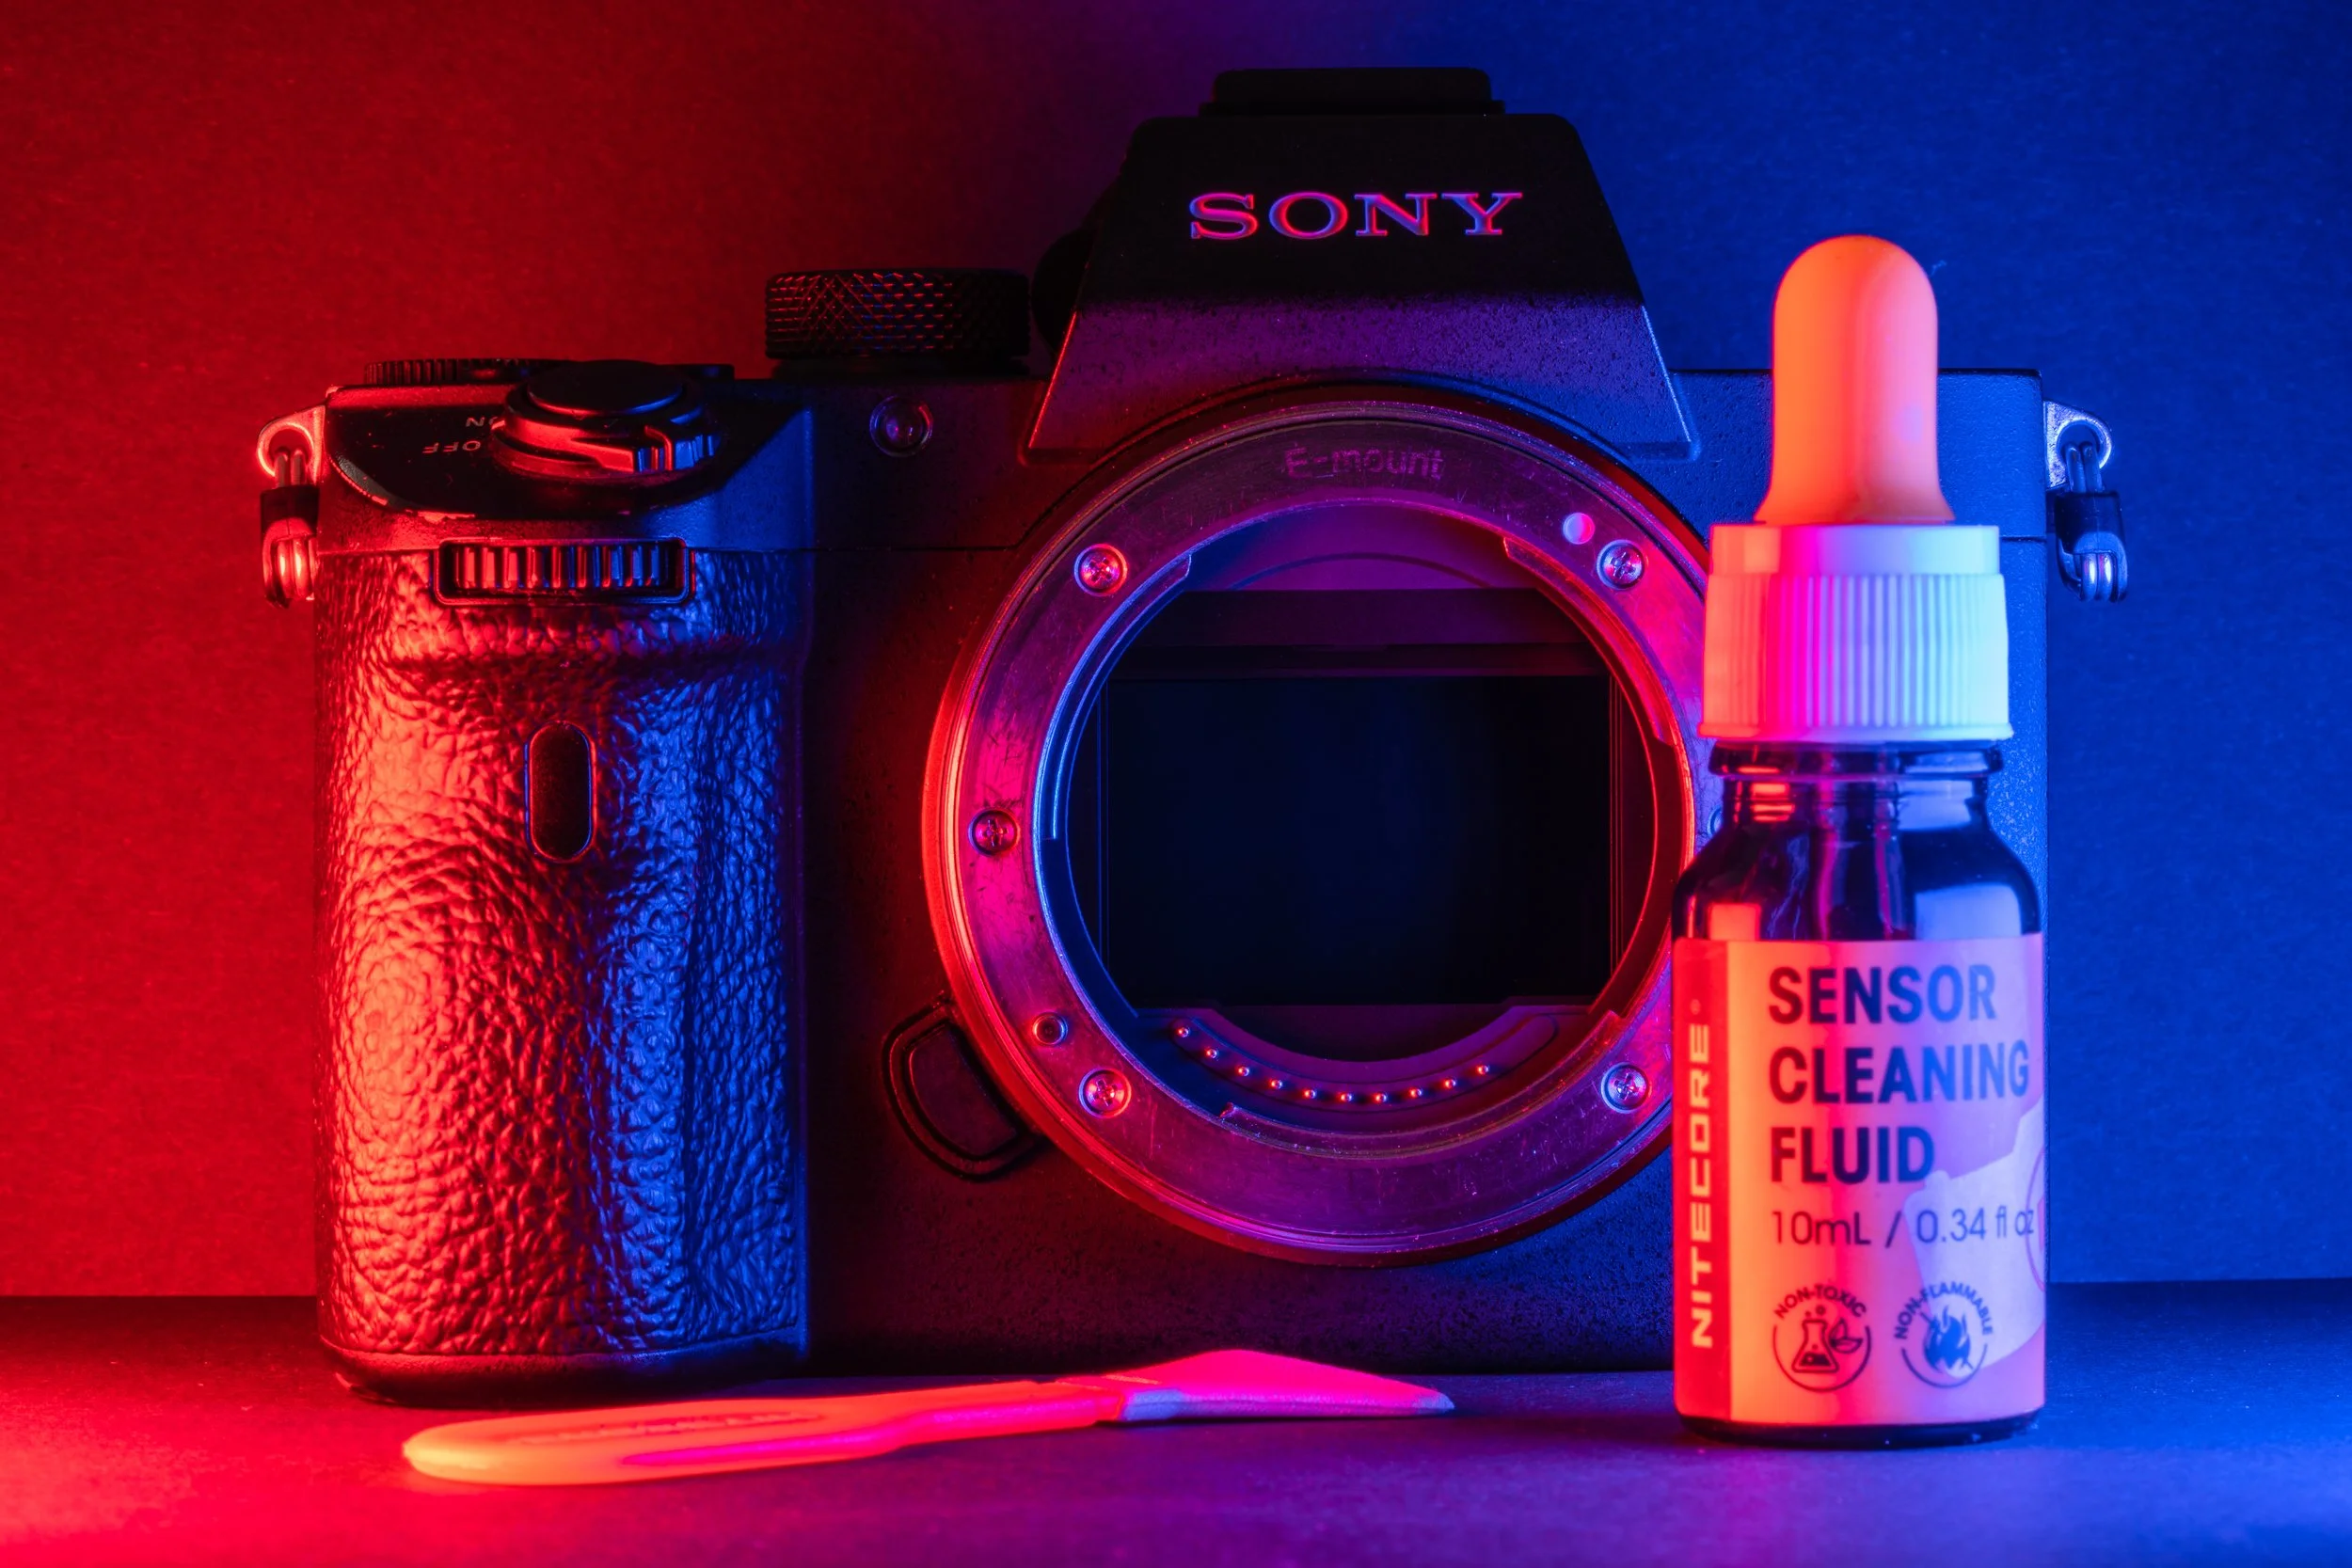
NITECORE was kind enough to send me this product, so I could review it and after using it on the Sony A7iii and Sony A7IV cameras, these are my thoughts on this product:
Advantages:
- Easy to use.
- It does not weigh much.
- Good measurements to be transported.
- The swap covers the entire sensor area.
As you can see this kit is a very minimalist product, so the application of this is quite simple. This product is not heavy at all, it can be transported together with the NITECORE blowerbaby and between the two it would not add any weight difference, but most important of all, these swab cover the entire sensor area, they allow you to perform a complete cleaning with just the use of a swab and obviously the cleaning fluid is perfect for this job.
If you are thinking of buying a kit to clean the sensor of your camera, I recommend the NITECORE sensor kit 100%.
For more information about this product:


